
How Are You Hooked Up to an EKG?
Step-by-Step 12-Lead ECG Guide
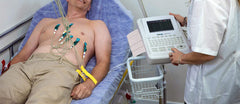
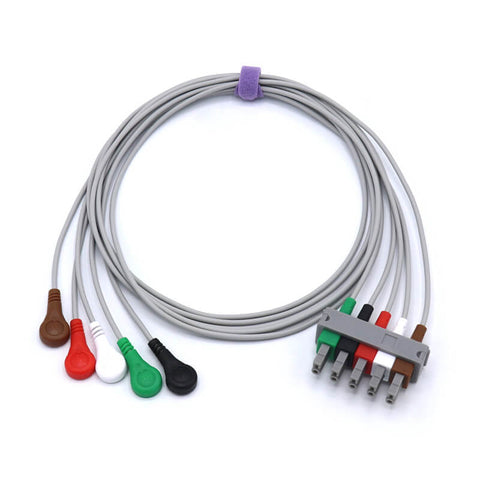
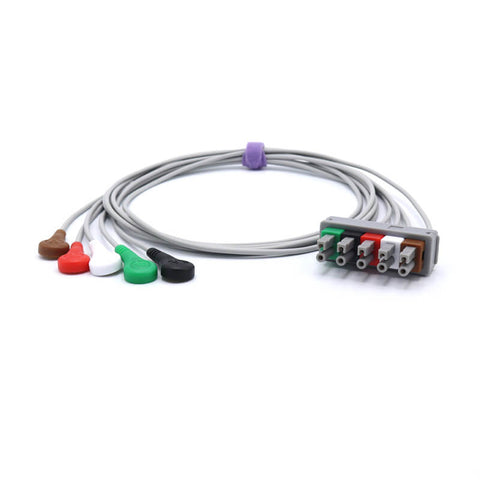
A 12-lead ECG (electrocardiogram) records the heart’s electrical activity using 10 electrodes placed on the body. Correct placement is essential for accurate results. Here’s how medical professionals typically set it up:
1. Skin Preparation
-
Expose the chest and limbs while ensuring patient comfort and privacy.
-
Trim excess hair on the chest if necessary to prevent artifacts.
-
Clean and prep the skin with alcohol pads, then lightly abrade the area to improve electrode adhesion and signal quality.
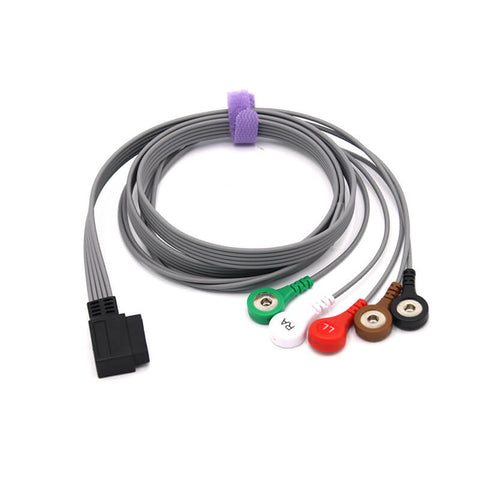
2. Placing the Limb Electrodes
-
Right Arm (RA): Between right shoulder and wrist.
-
Left Arm (LA): Between left shoulder and wrist.
-
Right Leg (RL): Between right hip and ankle.
-
Left Leg (LL): Between left hip and ankle.
👉 Tip: Avoid bony areas for better conductivity.
3. Placing the Chest (Precordial) Leads
To find correct chest positions, locate the Angle of Louis (sternal notch) and count ribs downward.
-
V1: 4th intercostal space, right of sternum.
-
V2: 4th intercostal space, left of sternum.
-
V3: Midway between V2 and V4.
-
V4: 5th intercostal space, left midclavicular line.
-
V5: Same level as V4, along the anterior axillary line.
-
V6: Same level as V4–V5, along the mid-axillary line.
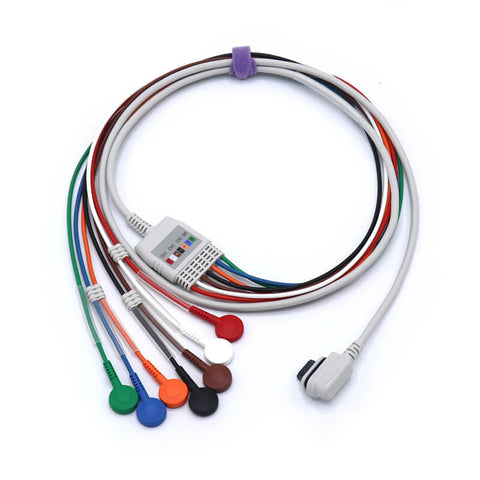
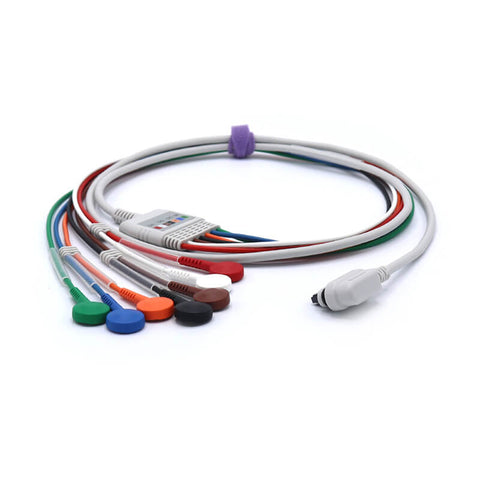
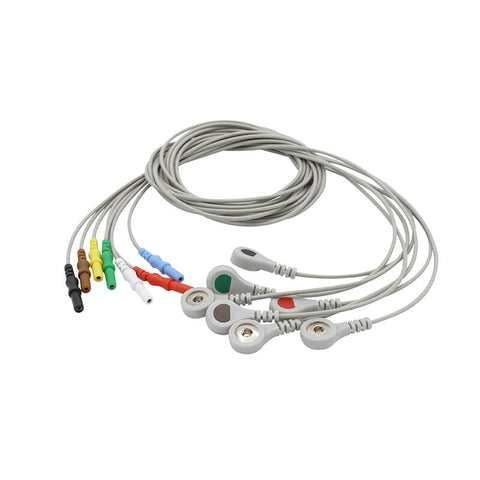
4. Connecting and Running the ECG
-
Attach wires from the electrodes to the ECG machine.
-
Start the test: Ask the patient to remain still and breathe normally for ~10 seconds.
-
Remove electrodes afterward and clean the skin gently.