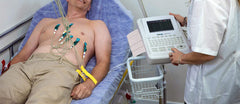

How to Place 12-Lead EKG Electrodes (Step-by-Step Guide with Diagram)
Placing 12-lead ECG (EKG) electrodes correctly is essential for accurate heart monitoring. Here’s a complete step-by-step guide to electrode placement, including patient preparation, limb leads, chest leads (V1–V6), and post-procedure care.
Step 1: Prepare the Patient
-
Position: Ask the patient to lie down flat (supine) or semi-reclined.
-
Expose the chest: Ensure the chest and upper abdomen are accessible.
-
Prep the skin:
-
Trim excess chest hair to reduce artifacts.
-
Clean the area with an alcohol pad.
-
Lightly rub the skin with abrasive tape or gauze to improve electrode adhesion.
-
Step 2: Place the Limb Electrodes
These four electrodes provide the limb leads and augmented leads (I, II, III, aVR, aVL, aVF).
-
RA (Right Arm): Just below the right clavicle, mid-clavicular line.
-
LA (Left Arm): Just below the left clavicle, mid-clavicular line.
-
RL (Right Leg): Lower right abdomen (ground lead).
-
LL (Left Leg): Lower left abdomen.
Step 3: Place the Chest (Precordial) Leads V1–V6
These six electrodes give the horizontal plane views of the heart.
-
V1: 4th intercostal space, right sternal border.
-
V2: 4th intercostal space, left sternal border.
-
V4: 5th intercostal space, left mid-clavicular line.
-
V3: Between V2 and V4.
-
V5: Left anterior axillary line, level with V4.
-
V6: Left mid-axillary line, level with V4 and V5.
Step 4: After Placement
-
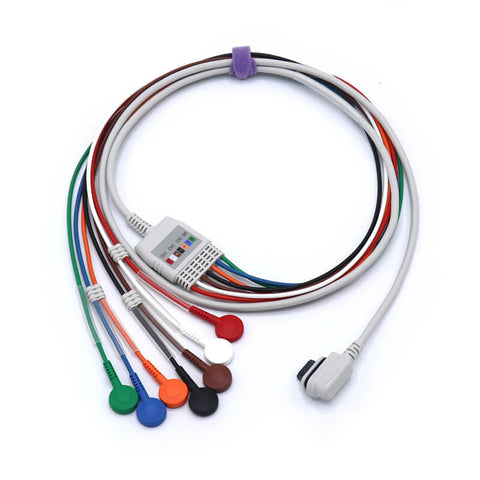
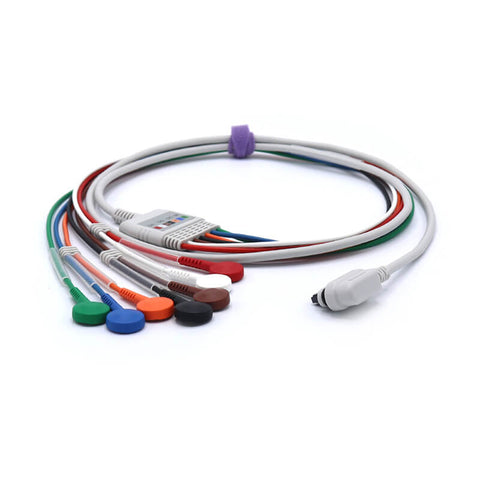
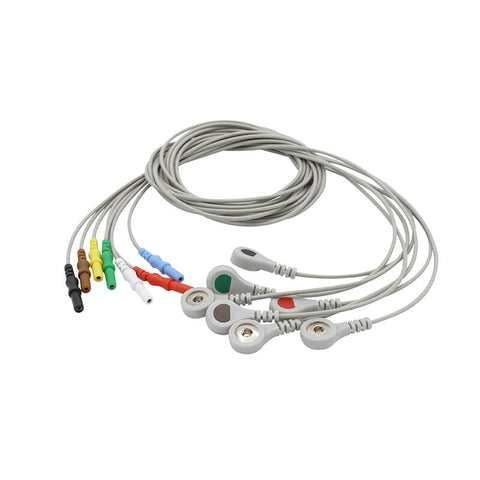
Connect leads: Attach the ECG machine wires to each electrode.
-
Record the tracing: Ask the patient to remain still to avoid motion artifacts.
-
Remove and clean: After the ECG, gently remove electrodes and wipe off any residue.
✅ Quick Tip: Always double-check electrode placement before recording—incorrect positioning can mimic heart conditions like myocardial infarction or conduction blocks.